


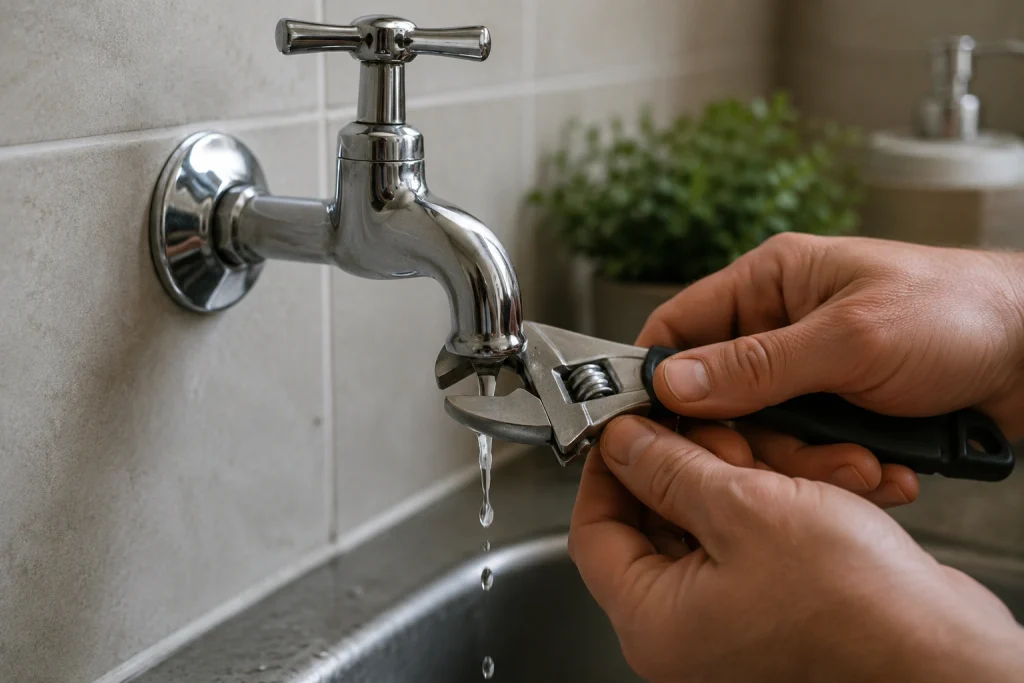
A dripping tap is easy to ignore, but it quietly wastes water, increases your bills, and can lead to bigger plumbing issues over time. The good news is that most tap leaks are simple to fix if you know what you’re doing.
In this guide, we’ll show you exactly how to fix a leaking tap, explain why it happens, and help you decide when a DIY repair is enough and when to call a professional.
What Causes a Tap to Leak?
Before we jump into the fix, it helps to understand the problem.
A leaking tap usually occurs due to wear and tear inside the mechanism. The most common causes include:
- Worn-out washer or O-ring
- Damaged cartridge (in modern taps)
- Loose or corroded internal parts
- Build-up of limescale or debris
If left untreated, even a slow drip can waste thousands of litres of water each year.
Why You Should Fix a Dripping Tap Quickly
A small leak might not seem urgent, but it creates real problems:
- Higher water bills over time
- Constant dripping noise (especially at night)
- Gradual damage to tap components
- Risk of bigger plumbing faults
Fixing it early is always easier and cheaper than dealing with a full replacement later.
Tools You’ll Need for DIY Tap Repair
Most basic tap repairs don’t require specialist tools. You’ll usually need:
- Adjustable spanner or wrench
- Screwdriver (flathead or Phillips)
- Replacement washer or cartridge
- Cloth or towel
- Plumber’s grease
Having the right parts ready makes the process much smoother.
Step-by-Step: How to Fix a Leaking Tap
Follow these steps carefully to carry out a safe and effective DIY tap repair.
Step 1: Turn Off the Water Supply
Locate the isolation valve under the sink and turn it off. Then open the tap to release any remaining water.
Step 2: Plug the Drain
Use a sink plug or cloth to block the drain. This prevents small parts from falling in.
Step 3: Remove the Tap Handle
Unscrew the decorative cap if needed and remove the handle using a screwdriver.
Step 4: Open the Tap Mechanism
Use a spanner to loosen the nut and expose the internal components.
Step 5: Check the Washer or Cartridge
This is where most problems occur.
- If the washer looks worn, cracked, or flattened, replace it
- If you have a modern tap, you may need a cartridge replacement instead
This is the most common tap washer replacement.
Step 6: Apply Grease and Reassemble
Apply a small amount of plumber’s grease, then reassemble the tap carefully.
Step 7: Turn the Water Back On
Slowly restore the water supply and test the tap.
If everything is done correctly, the dripping should stop completely.
Real Example: A Quick Fix That Saves Money
We often see customers with a slow kitchen tap drip that’s been ignored for months. In most cases, it turns out to be a worn washer that costs very little to replace.
Fixing it early helps avoid damage to the tap and prevents unnecessary water waste. This is a simple tap leak solution that takes less than 30 minutes.
What If the Tap Still Leaks?
If your tap repair doesn’t work, the issue may be deeper:
- Corroded valve seat
- Damaged tap body
- Faulty installation
- High water pressure issues
At this point, it’s best to get expert help.
Common Tap Problems (And How to Avoid Them)
Here are a few issues we regularly come across:
- Overtightening taps, which damages washers
- Using incorrect replacement parts
- Ignoring early signs of leaks
- Not cleaning limescale build-up
Regular maintenance helps you stop a tap from dripping before it becomes a bigger problem.
DIY vs Professional Repair: What’s the Right Choice?
| Situation | Best Option |
| Minor drip, worn washer | DIY repair |
| Cartridge or mixer tap issue | DIY or professional |
| Persistent leak after repair | Call a plumber |
| Visible damage or corrosion | Professional repair |
If you’re unsure, it’s always safer to get advice before making things worse.
When to Call a Professional Plumber
You should consider professional help if:
- The tap continues leaking after repair
- You can’t identify the issue
- Parts are stuck or heavily corroded
- The leak is affecting the surrounding fixtures
If you’re looking for a trusted plumber, we’re here to help.
Common Mistakes to Avoid
- Skipping the step of turning off the water
- Using the wrong size washer
- Overtightening parts during reassembly
- Ignoring leaks for too long
Avoiding these mistakes saves time and prevents further damage.
Final Thoughts
Learning how to fix a leaking tap is a practical skill that saves water, money, and hassle. Most minor issues are straightforward to fix if you follow the right steps and use the correct parts.
However, if the problem keeps coming back or feels beyond a simple repair, it’s best not to take risks.
Need Help? We’re Here
At All Plumbing Services, we handle everything from quick tap leak solutions to full plumbing repairs. Whether it’s a small drip or a more serious issue, we make sure the job is done properly and lasts.
If you’d rather skip the hassle or want expert advice, get in touch with us today. We’re always happy to help you keep your home running smoothly.
FAQs
- How do I fix a leaking tap quickly?
Turn off the water, remove the tap handle, replace the washer or cartridge, and reassemble it carefully. - Why does my tap keep dripping after repair?
It could be due to a damaged valve seat, incorrect fitting, or a deeper internal issue. - Is it worth fixing a tap myself?
Yes, for simple issues like washer replacement. For complex problems, professional help is better. - How long does a tap repair take?
Most DIY fixes take between 20–40 minutes.